
Planning a camping adventure with the kids this summer? SOLO Southeast Instructor Jeff Gottlieb has your back when it comes to primitive campfire cooking when the kiddos are on board. Learn more from his book – Teaching Primitive Skills to Children by purchasing it today on his website.
Below are various excerpts from Teaching Primitive Skills to Children that will help make your camping adventure a success for all ages!
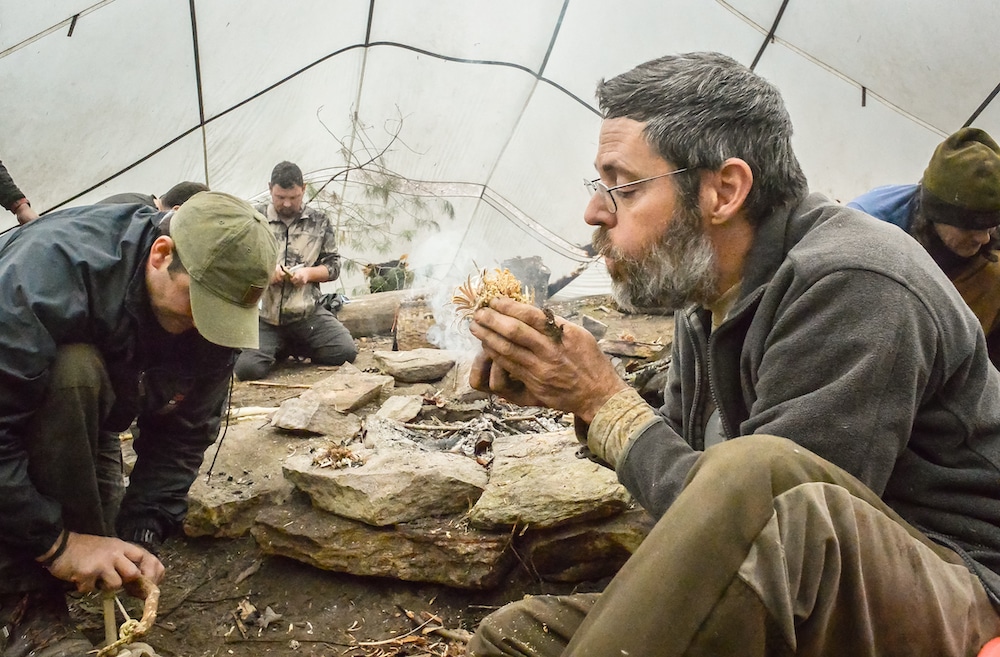
 Getting firewood is a crucial job, and your intended diners can all help at once. Make it a bit strict and use the activity for teaching two concepts: how to find important things with your eyes using discernment and judgment, which is an awareness skill; and how being careful with wood quality and sizing affects how well a fire burns. Send individual groups out to get tinder, fine kindling, medium kindling and fuel, each in very specific sizes. Be very choosy about size separation. I am almost theatrical in my exaggerated fussiness when coordinating this task for kids. I make it fun, joking with people as they bring their materials to the fire area. I want the sorting process to be memorable. I can’t stress enough to beginning fire makers that lack of enough fine-to-medium kindling is where many fires fail.
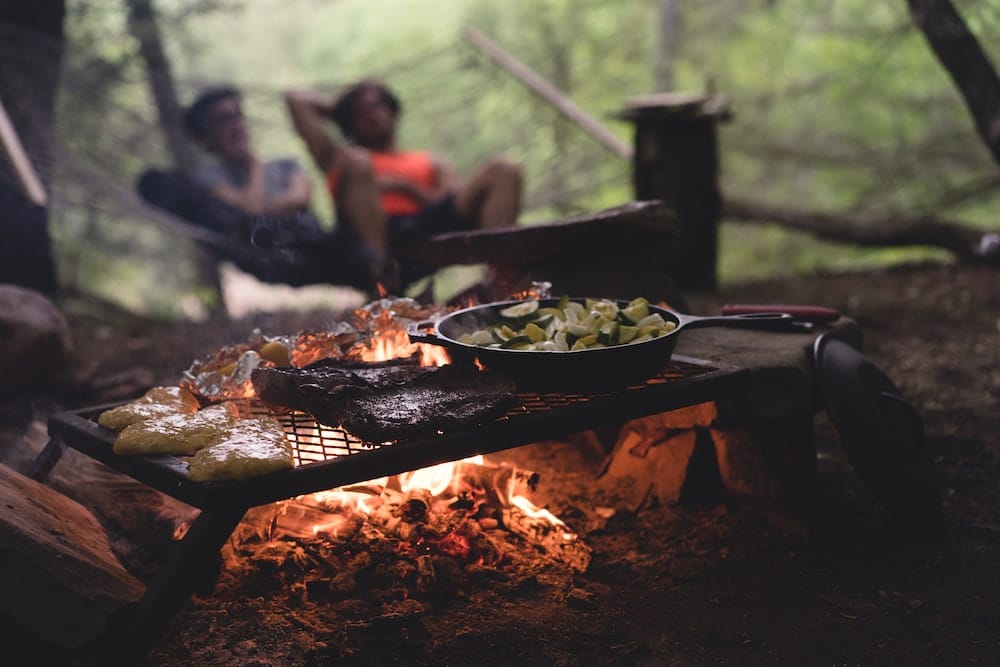
The simplest form of cooking is also the most popular. Cut off a small chunk of red meat or poultry with a sharp stone flake or biface knife, fit it onto a sharpened stick and roast it. Take care while cutting to avoid accidental finger cuts. Unless you have set up a long, narrow trench fire, only 4-6 people should try to cook at one time, so that they don’t accidentally knock each other’s food into the ashes. The fire must be low and stable, with glowing coals and very little flame. People seem to believe that if there is no flame there is no fire. If they flame their meat, it will get sooty and will taste bad. It is also bad for their health. We have had good success using long (18-28”), straight, sturdy cooking sticks and propping them in place so that the meat is suspended over the coals without anyone holding the stick. It is easy to flip the meat over this way when it is cooked on one side. Set a rock or chunk of wood on the base of the stick to hold it in place so that it doesn’t swivel. Choose a green (freshly cut live) stick for this, thick enough so that it won’t burn through and drop the meat onto the fire.
If you want to be a big hit as a primitive hibachi chef, get your hands on a big, flat stone griddle. Get one 1-2” in thickness and at least 1 ft square in area. Hard steatites, soapstones or foliated schists are preferred because they hold heat for a long time and are resistant to thermal shock. I also like the soapstone and schist because they are soft and can be scraped to a very smooth finish, with a slippery texture that acts like Teflon: a non-stick frying rock!
Prop the griddle up 4-8” above the fire, on three or more rocks. Be sure to choose fully dry rocks that won’t explode. Feed it finger-thick sticks or even thinner ones. It takes a while to fully heat up a big stone griddle. Splash a drop of water on it to see if it sizzles yet.
Grease the griddle to lubricate it. You can make a little grass brush to spread grease around on the frying surface. I try to use every element of a program as a potential teaching opportunity. Kids can make these brushes easily. Just tie a clean bunch of fresh grass to the end of a short stick with some cordage. You could just use a wad of grass, but this way you get to teach a craft! Once your griddle is hot and greased, you can cook most anything on it.
Fish
Fish fillets or whole small fish cook very well. Don’t turn them unless they are completely done on one side, or you risk them breaking up or sticking. You can pound slices of meat to tenderize them, then sear them quickly and eat them before they are overcooked.
To cook a flat, floppy flounder or a large fillet, split a green, thumb-thick, knot-free, two-foot-long stick down ¾ of its length. Prepare 6-8 green, split half-sticks the size of popsicle sticks. Hold the two sides of the stick open and slip the fish in. Use the small sticks between the fish and the wood to hold the food out flat and tie the ends of the big split stick closed with cordage. This method is also good for cooking steaks or poultry cutlets. Lean the stick over the fire, jam the sharpened butt end into the ground, and turn over when done on one side.
Greens
Greens, both wild and domesticated, are delicious cooked on a well-greased griddle. In addition to familiar store bought greens, try dandelion greens, winter cress, young plantain leaves, garlic mustard, milkweed and poke shoots, wild leeks and other wild onion plants, to name just a few. Pile chopped washed greens on the hot surface and toss them a bit to get grease on them. Then cover with a cut gourd, a wooden bowl or a large clamshell. This will steam them quickly. This is gourmet wild cooking.
Griddle Cakes
Griddle cakes of many types are easy to cook. Plain old homestyle pancakes are quick and simple, but why not spruce them up with wild foods? Add fresh-picked berries, chopped nuts, natural sweeteners, or anything else that might taste good in there. Traditionally, people made corn cakes on stone griddles. Modern cooks usually use up to half wheat flour with the cornmeal. Corn cakes can be made sweet, by adding domesticated or wild fruit, honey or maple syrup. I prefer them savory, with a little salt, chopped cooked bacon or pork, minced onion and garlic, and hot pepper to taste.
Wild Vegetables
Another way to get children to try wild vegetables is to make fritters. Take dandelion flowers, milkweed buds or flowers, Queen Anne’s lace, squash blossoms or other wild things, even chopped greens, dip them in batter and fry them. Kids will eat every one you make.
Tamales
Tamales are corn dumplings, which are boiled or steamed in a large cornhusk. To make tamales you must be able to boil water. You can do this primitively by hanging a rawhide over a frame and filling it with water, then dropping in red-hot stones that were heated in the fire. To keep up a rolling boil, keep trading new hot rocks from the fire for cold wet ones from the cooking pot. Dust off the hot rocks before putting them into the pot or they will introduce ashes into your food.
If you have clay pottery and would like to cook in it, there is a lot of background knowledge about clay pot cooking that could help. Suffice it to say that the clay pot must be set in a stable position, often on a tripod of three rocks, and the fire built around it gradually, using coals and finger-thick sticks. Don’t let the fire grow too big and overheat the rim of the pot. If you want to go more modern, a Dutch oven or other cast iron pot works fine.
To boil them you must wrap them well and tie them closed, or the cornmeal will leak out into the water. The dough recipe is the same as the savory corn cake recipe. Take a large, moist cornhusk and lay it out flat. It can be a fresh one or dried and remoistened. Put a spoonful of dough on the center. Mold the dough until it is in line with the long axis of the husk. Roll up the two long sides a bit. Take one end and fold it up where the dough begins. Take the other end, fold it similarly and overlap the other end. Tear a thin strip from another husk and use it to tie the tamale closed. If you can’t get the hang of tying this way, you can use string. If you keep breaking your cornhusk ties, try twisting them before pulling on them. Once the water is hot, slip your tied tamales in and boil for perhaps 15 minutes, until the dough is cooked all the way to the center. When you think they are cooked, take one out and open it up. Be careful; it will be steaming hot. If it looks grainy or dry in the middle, it is not quite done.
Eat them with hot sauce, salsa, sour cream, butter, or whatever strikes your fancy.
Cooking, Serving, and Eating Utensils
The making of utensils could be a whole workshop in itself, though you could supply everyone with what they need more simply. For a plate, use a few large, non-toxic leaves such as grape, maple, palmetto or basswood. Stack them to insulate your hands from hot food. For a spoon, just split off a flat strip of wood like the ice cream spoons we used as kids. Forks are a bit tricky, but you could just stab chunks of food with a sharpened twig. Chopsticks work great, and consist of two simple twigs. I like temporary utensils, because when done you can just leave them in the woods. More elegant, longer-lasting forks, spoons, bowls and plates can be carved from suitable wood. It should be non-toxic, fine-grained and mild-flavored. Bowls, plates and spoons can be carved out using a curved gouge, or burned out using hot coals and a scraping tool.
You will need a spatula. Any kind of non-toxic wood with a straight, fine grain can be split thin like a shingle, and sharpened at the leading edge. I like maple, beech and birch for this. Sometimes I make disposable ones, and burn them when I am done, but I have some that came out very nice so I saved them, and frequently use them in my kitchen. You might also like to have tongs for handling food. Take a thick stick or section of bamboo or cane, 12-18” long, tie some cordage around its base, and split it from the tip to the tied area. Spread it open and insert a thin twig, wood chip or other filler. Tie it into place so it doesn’t fall out. You may have to whittle the two halves of the tongs so that they flex the way you want them to.
There is nothing to compare with the feelings of self-sufficiency and abundance people can feel when they realize that we are surrounded by wild food. It is free for the taking if we need it. Wild foods enthusiasts of all ages can be proud of the knowledge they have regarding which plants are which, and whether each is edible. We can show them ways to cook these foods so that they actually taste good! When asked which had been their favorite activity during a week of primitive skills and games, more children chose primitive cooking than any other experience. It’s a perennial crowd pleaser.
Interested in learning more primitive and wilderness skills? Sign up for a Wilderness Survival course with SOLO Southeast!
From the Blog
Related Posts

Tips
A Guide’s Guide: River Releases and Paddling Gear
